In this article, you will learn how to:
- Build a Quote from scratch
- Add contacts and notes
- Learn how to use Options
- How to add flights to an Option
- How to add General Items to an Option
- Adjust the email to be sent to a customer
- Finalize and send your completed Quote
The article contains many steps, but we promise you, this is worth reading and trying out in your own account !
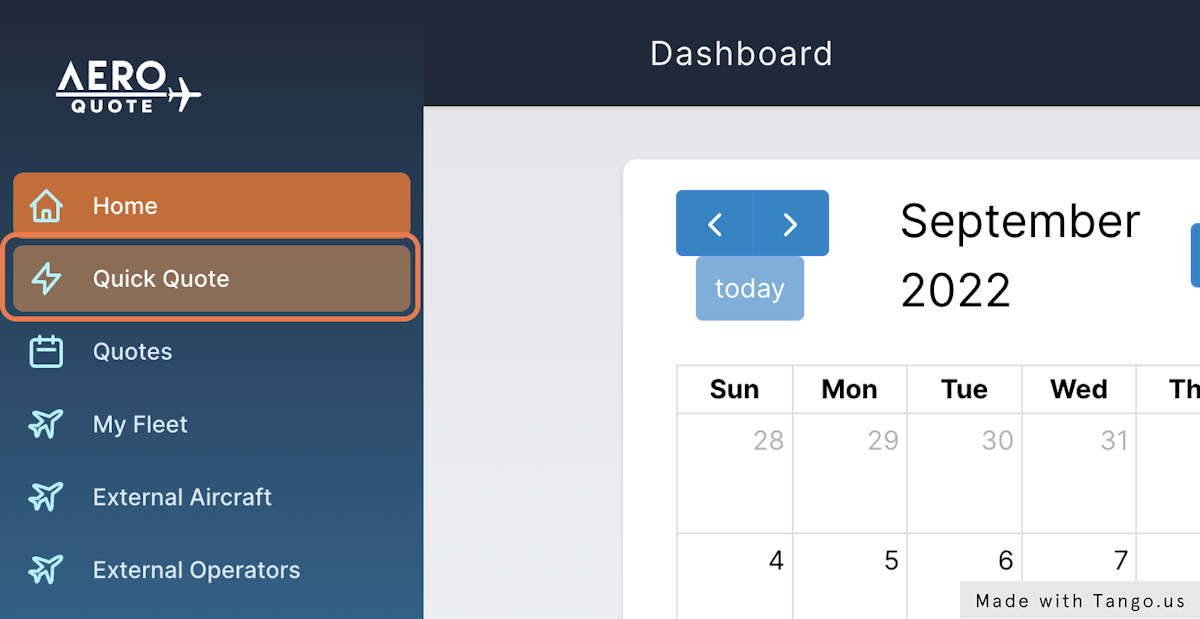
1. From the Dashboard, Click on Quick Quote
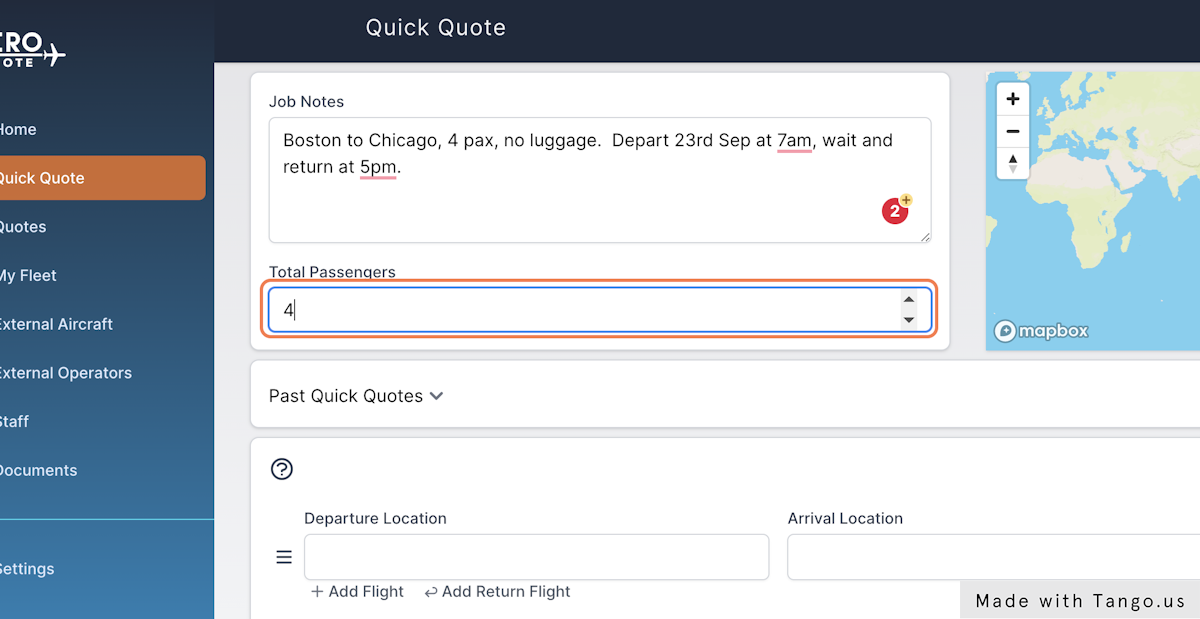
2. Add job notes
These are the job notes that you use internally. Only you and other operators you request quotes from will see them, customers will never see them.
For this example, we have used:
"Boston to Chicago, 4 pax, no luggage. Depart 23rd Sep at 7am, wait and return at 5pm."
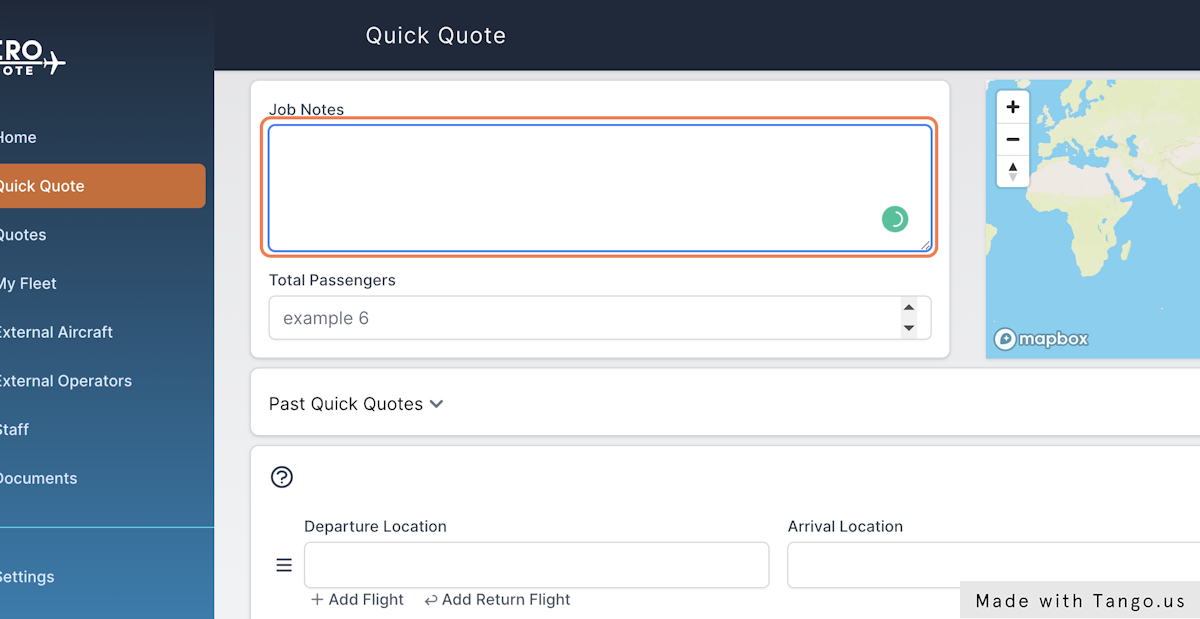
3. Add the total number of passengers expected
This is optional and helps AeroQuote calculate airport charges if available.
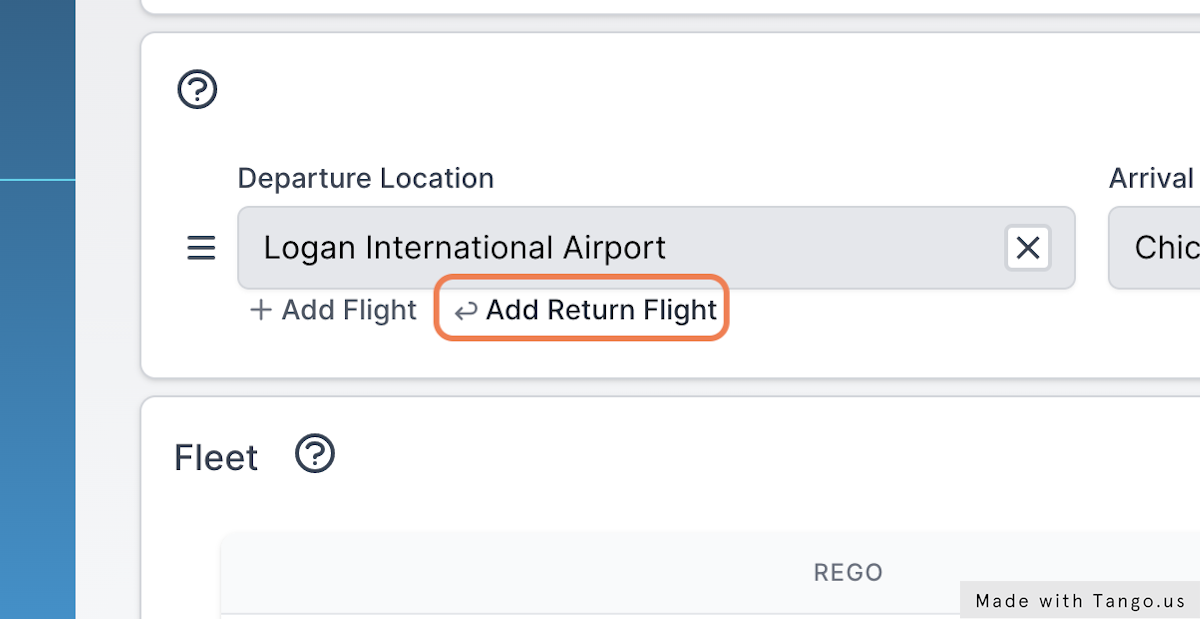
4. add departure and arrival locations
NOTE: It is not necessary to add positioning flights, AeroQuote will do this for you automatically. Just add the charter legs you customers requested. In this example we typed "KBOS" as the departure ICAO and "midway" for the arrival. These airports may not be available in your account so choose airports you are familiar with for your practice.

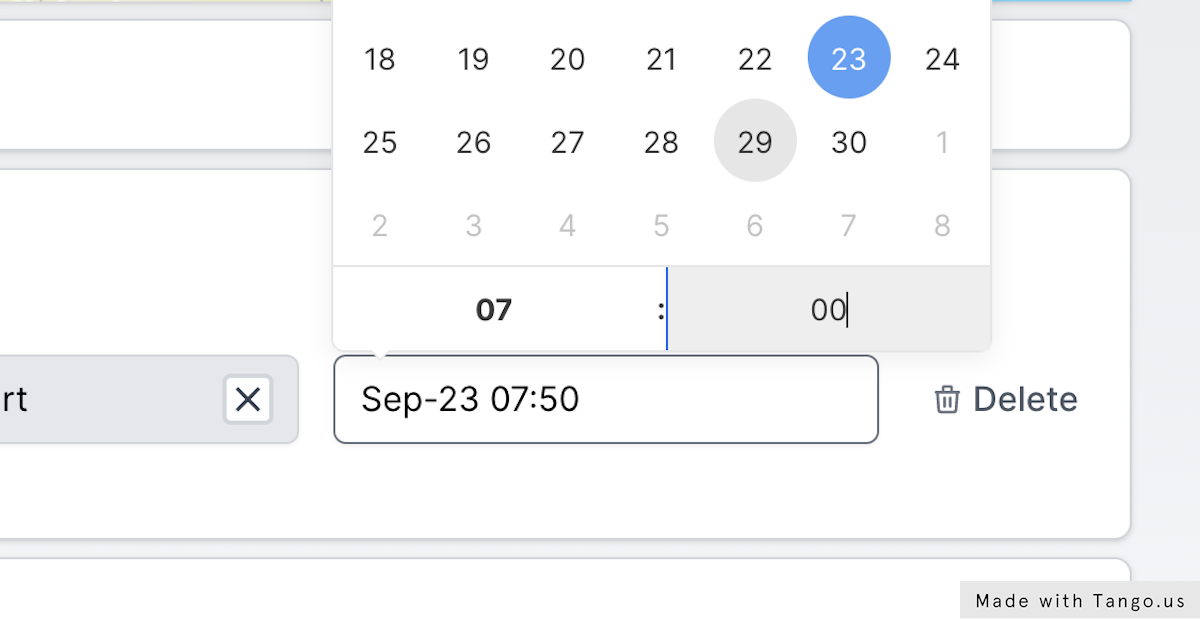
5. Select the optional estimated start date and time for the first leg of the charter.
6. Click on Add Return Flight
The customer requested a 5pm return, so we click Add Return Flight. You may also add the return flight manually by clicking "Add Flight".
7. Add the optional return date and time

8. Your screen should now look similar to this

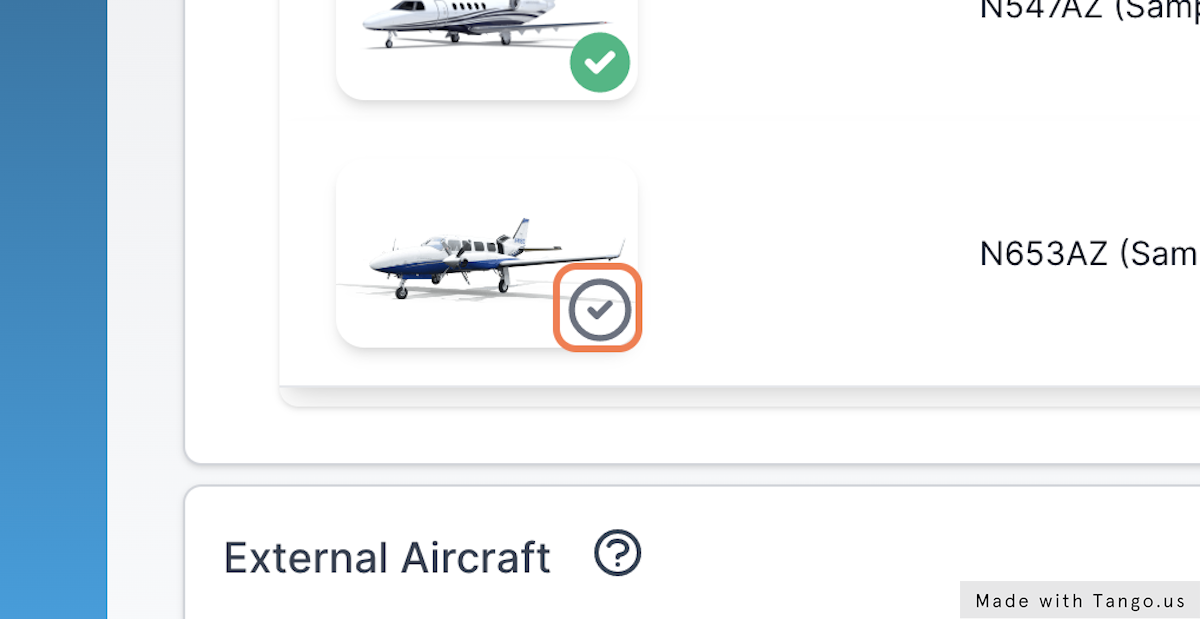
9. Select both the sample aircraft by clicking the images.
Once you select an aircraft, it will be included in your Quote each in a separate "Option"
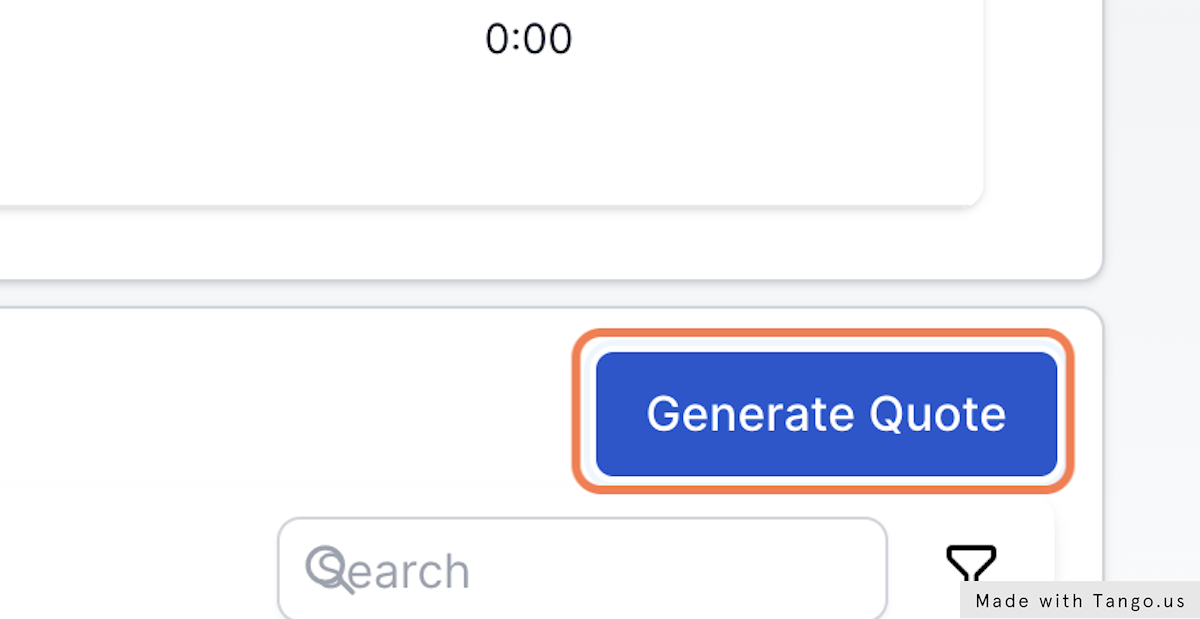
10. Click on Generate Quote
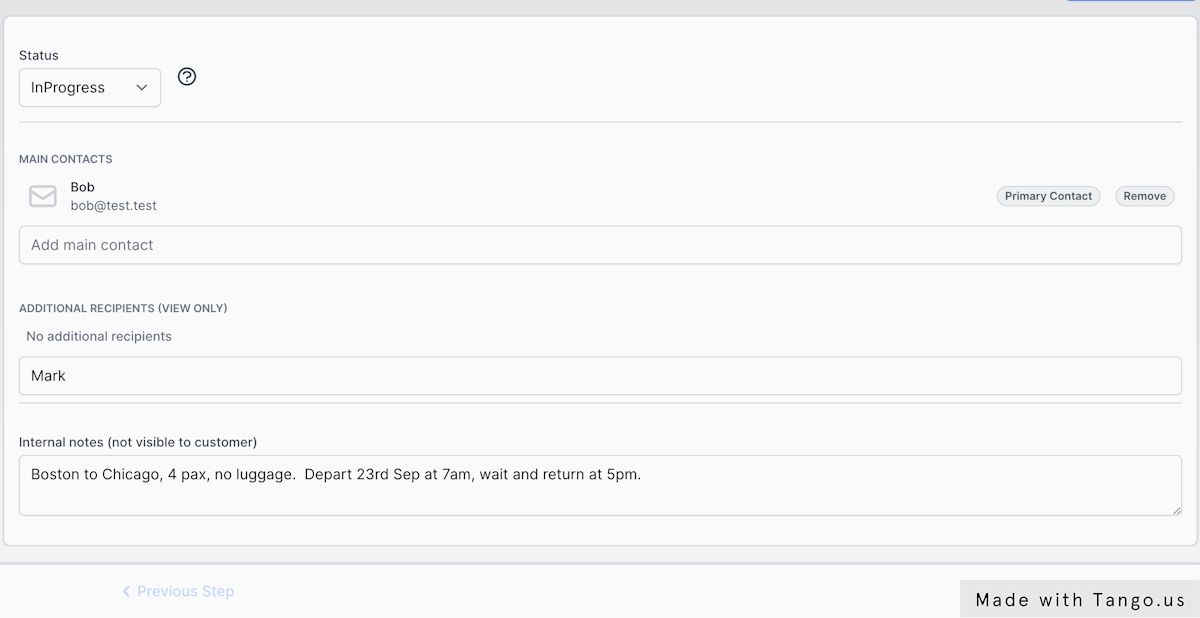
11. A new Quote will be presented to you. Lets add some contacts
Your contact database is initially empty. We recommend adding yourself as a contact to experience what emails a customer will receive. Add yourself as a new contact by typing your name and then clicking "Add new". Do this in the "Main Contacts" field.
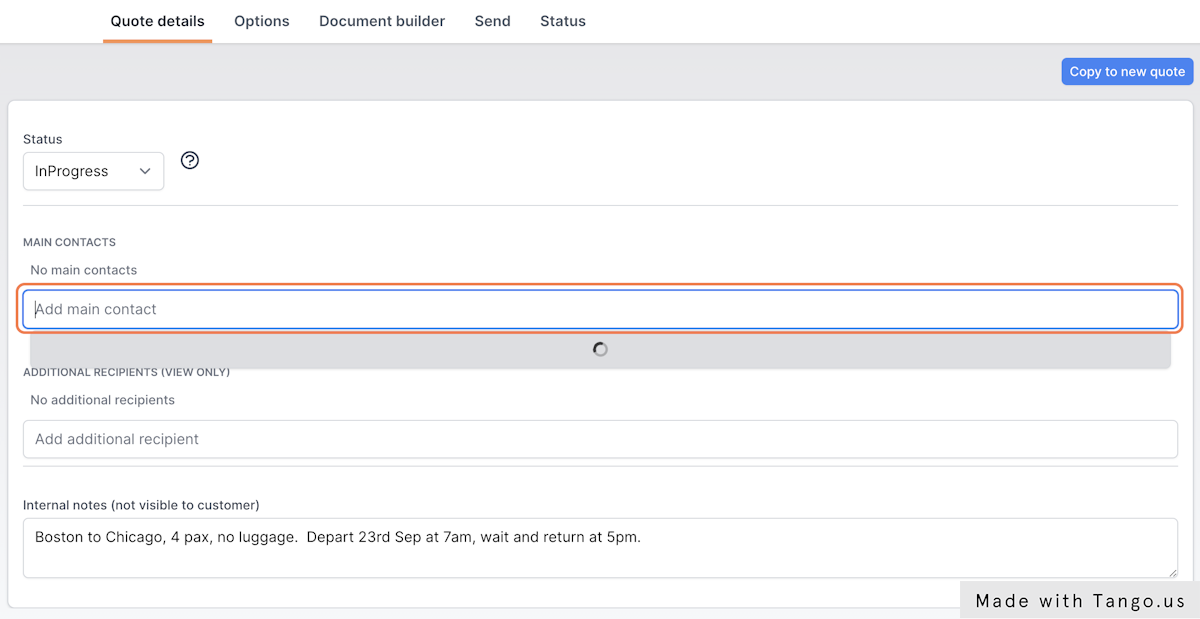
12. Main Contacts are able to accept quotes online.
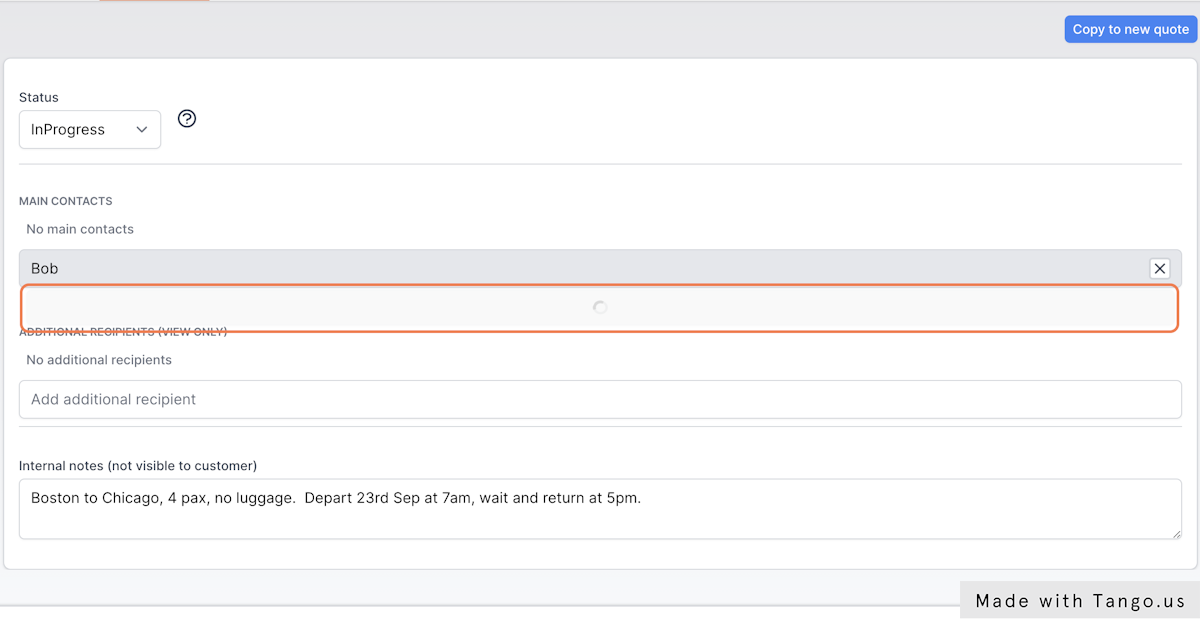
13. Optionally add a "Additional Recipient"
Additional Recipients will receive your quote emails however, they cannot accept the quote on behalf of the customer, only Main Contacts are able to accept Quotes.
14. Click on Next Step
15. You will be presented with the Options step.
Options are designed to separate different aircraft options into easily recognizable sections for customers to review. By default, Options are selectable by the customer online, meaning they can choose which options to accept. Customers can accept one or more options and watch the total price change as they do.
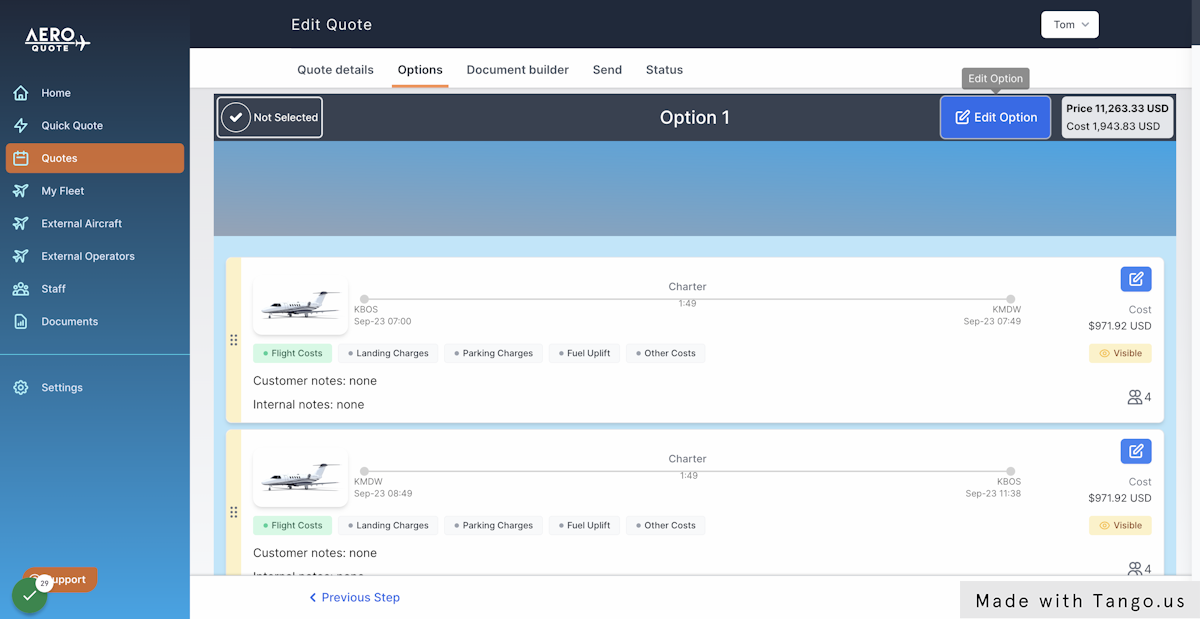
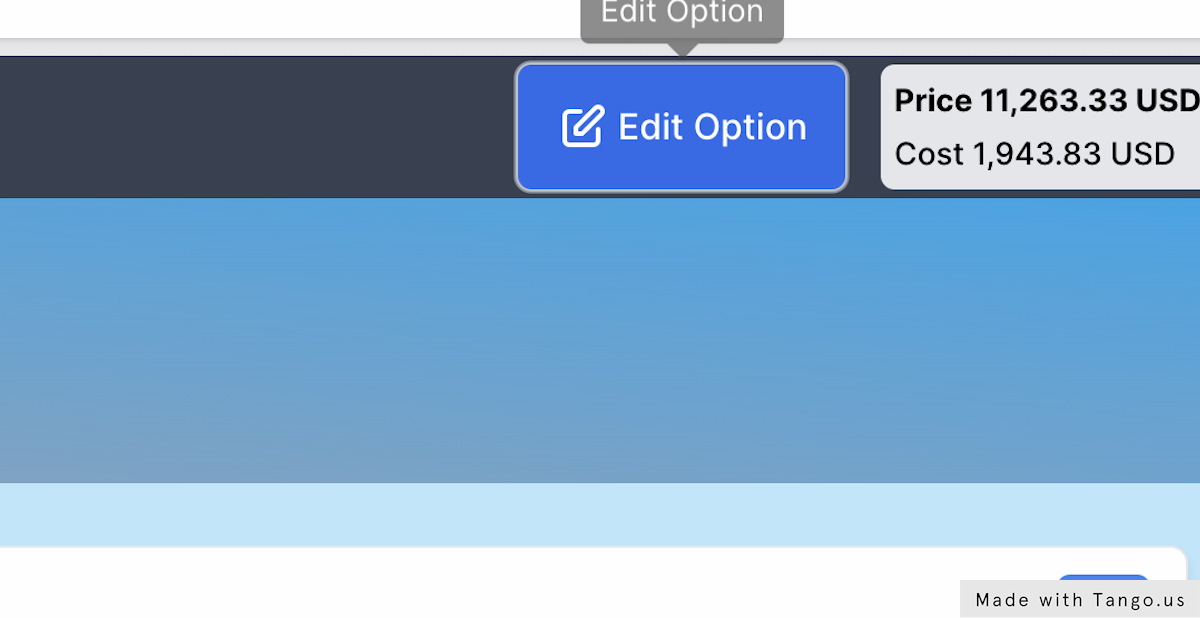
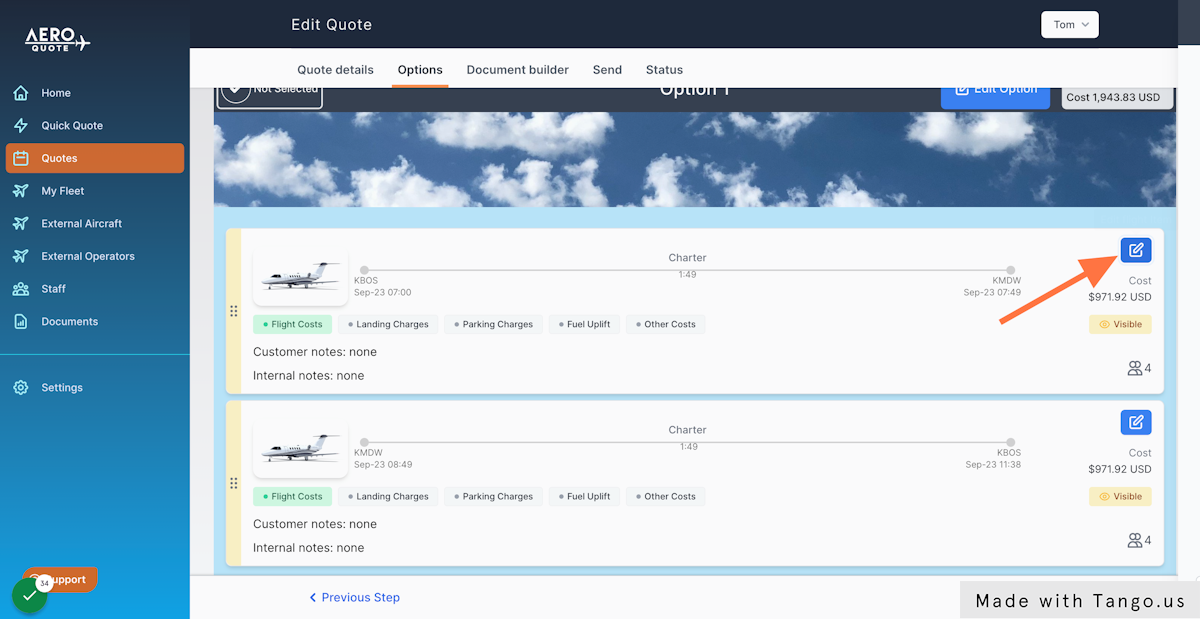
16. Click on "Edit Option" on the first option
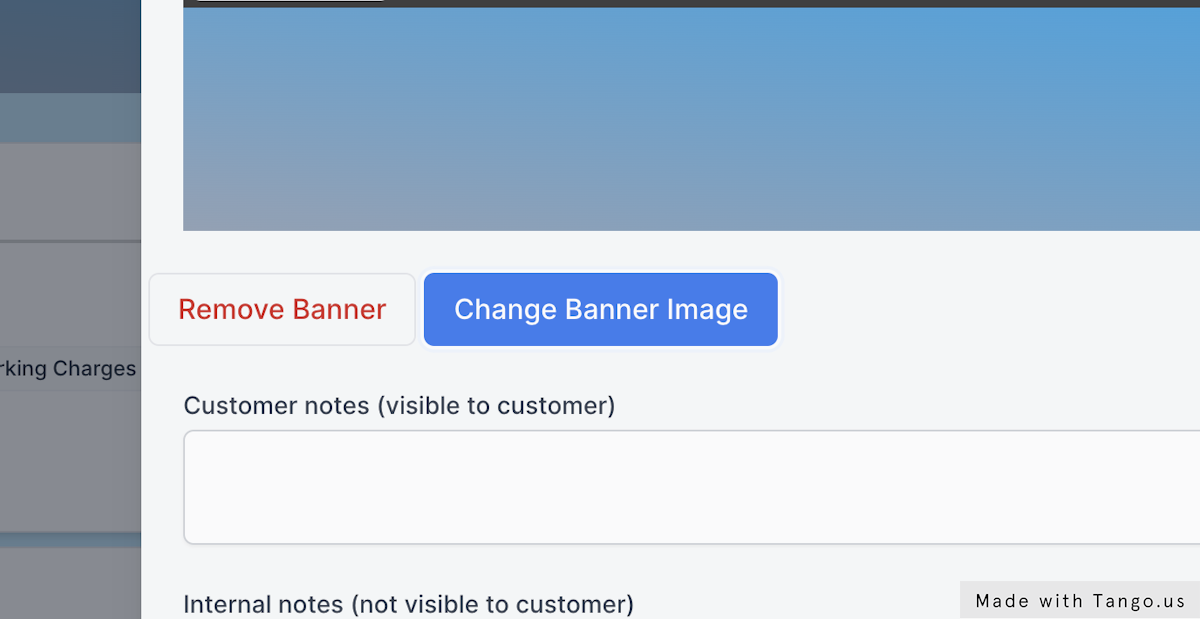
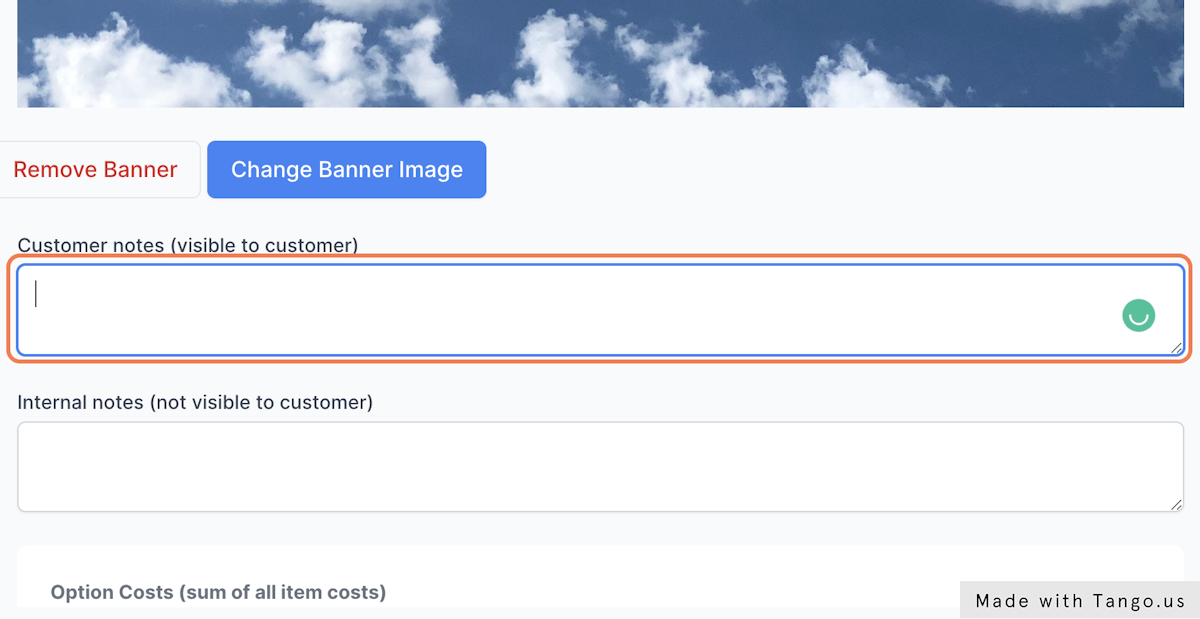
17. Lets change Banner Image
By default no banner image is selected, click the Change Banner Image to select a new one. You can upload a new image and then store it in your image library if you want. Many operators choose a nice aircraft interior photo as a banner image.
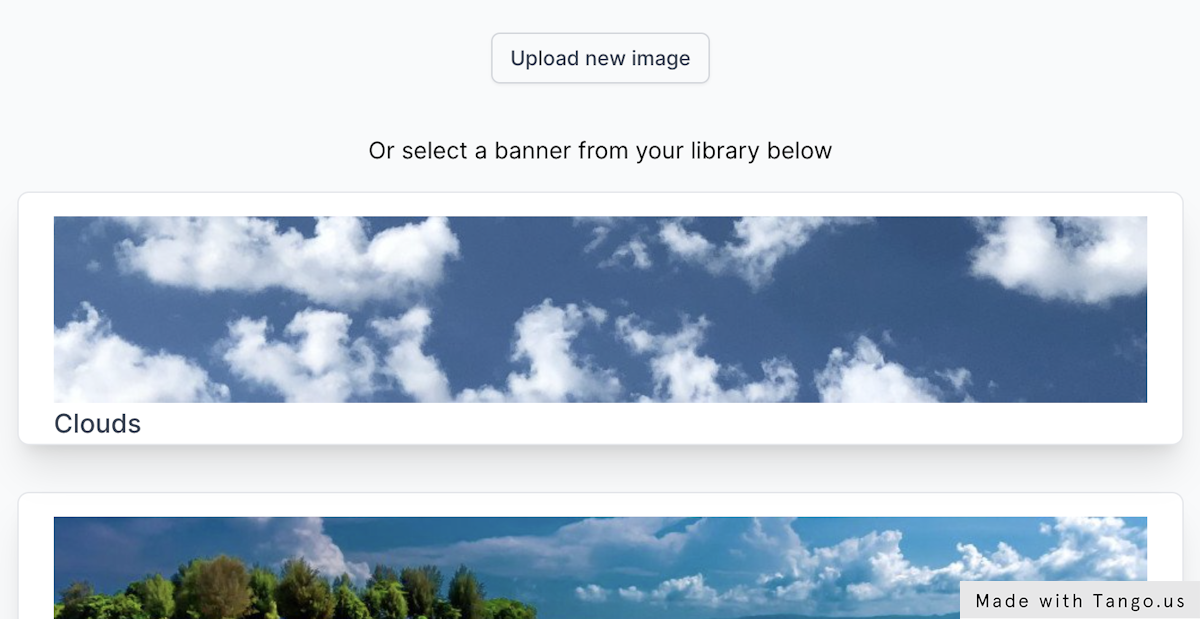
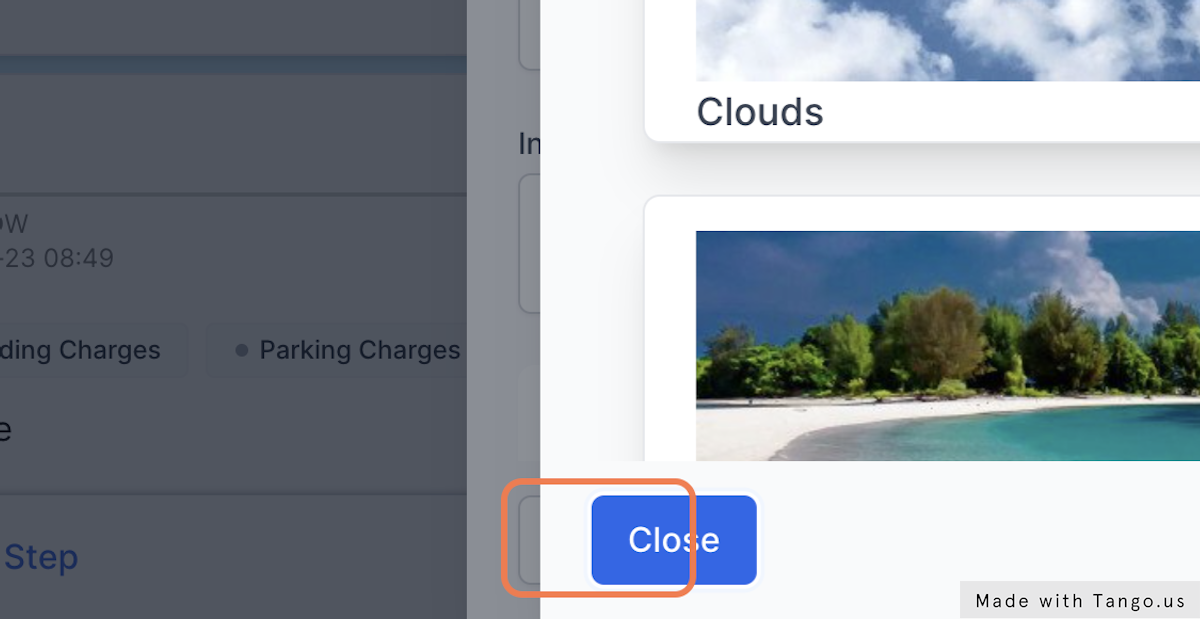
18. Choose a new banner image or upload a new one.
19. Click on Save to close
20. Click on Close
21. Lets add a descriptive note to the option
This note will be visible in Quote PDFs and in the online Quote View.
For this example we have typed:
When it comes to private jet travel, the Cessna CJ4 is in a class of its own. Its spacious cabin and large windows provide an unmatched level of comfort, while its advanced avionics system keeps pilots informed and safe. The CJ4 is also incredibly quiet, thanks to its efficient engines and sound-dampening materials. Whether you're flying across the country or just taking a quick trip to the city, the Cessna CJ4 will make your journey a truly enjoyable experience.
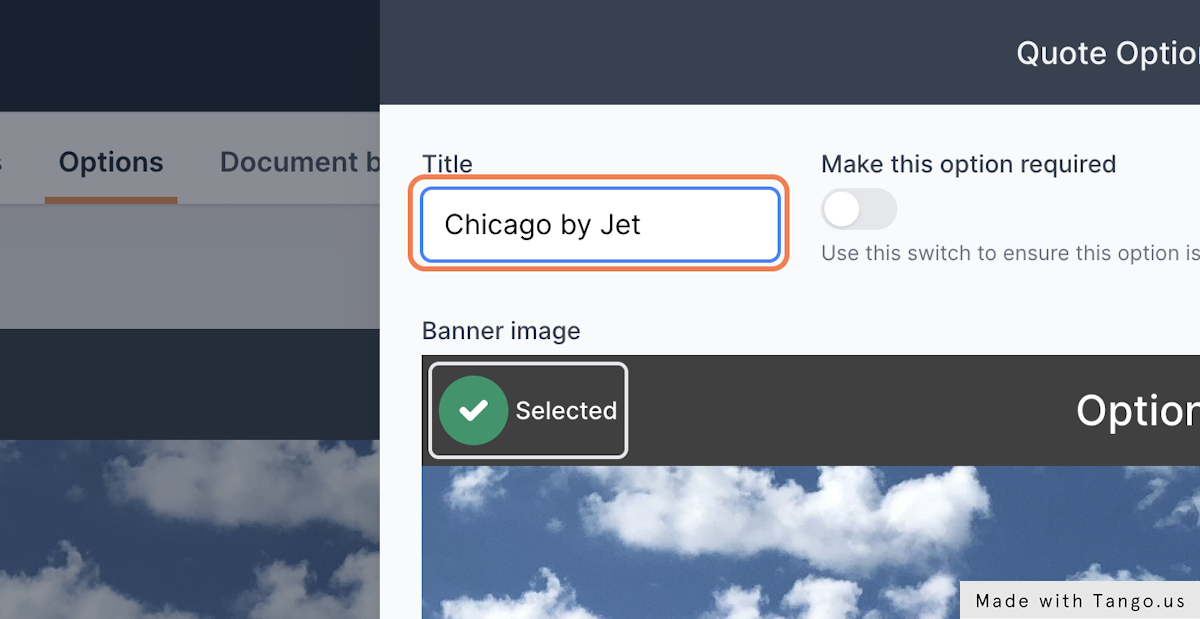
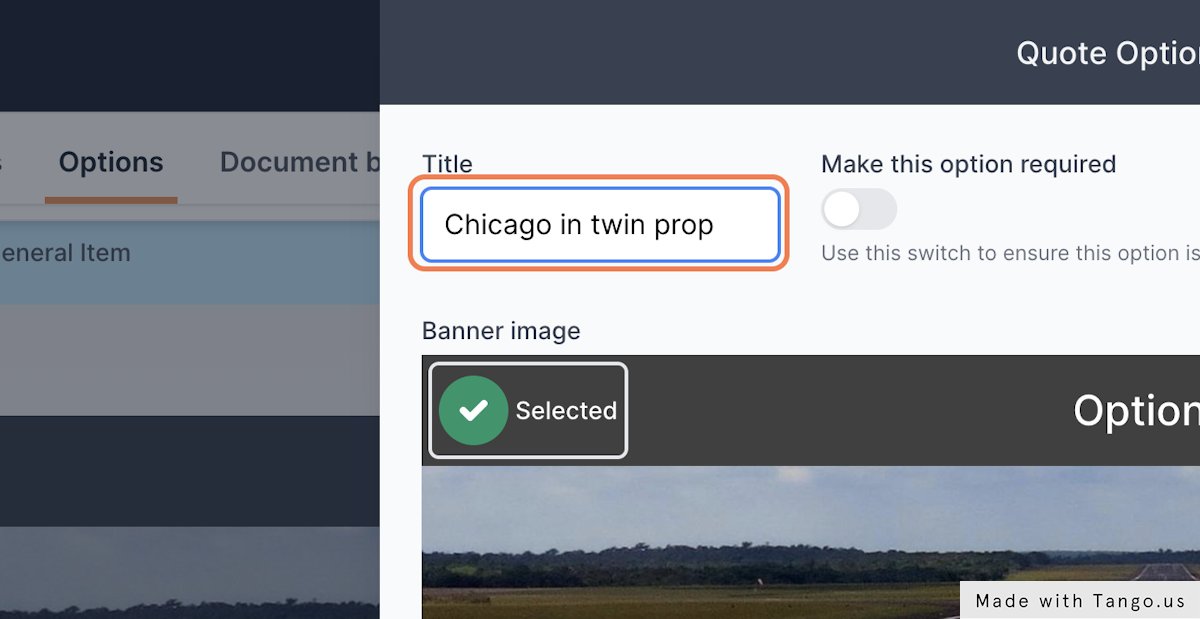
22. Change the Title of the Option to "Chicago by Jet"
Or you may leave the auto-generated titles, it's your choice.
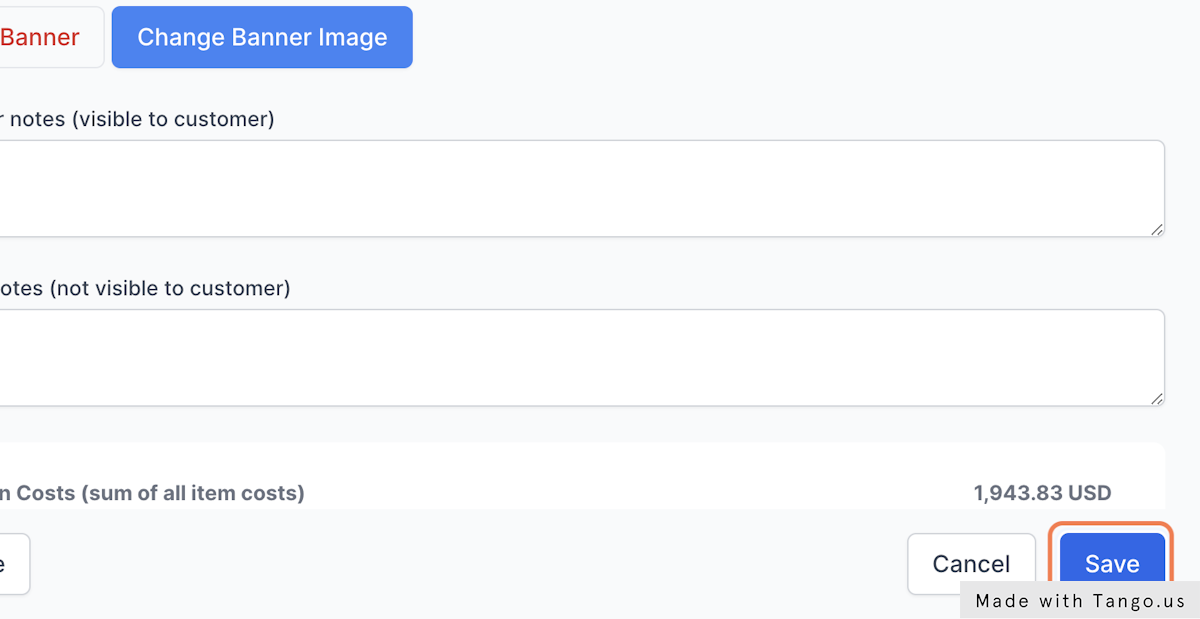
23. Click on Save to close the Option editing
24. Click the Edit Icon on the first flight
This will open the flight editing slideover
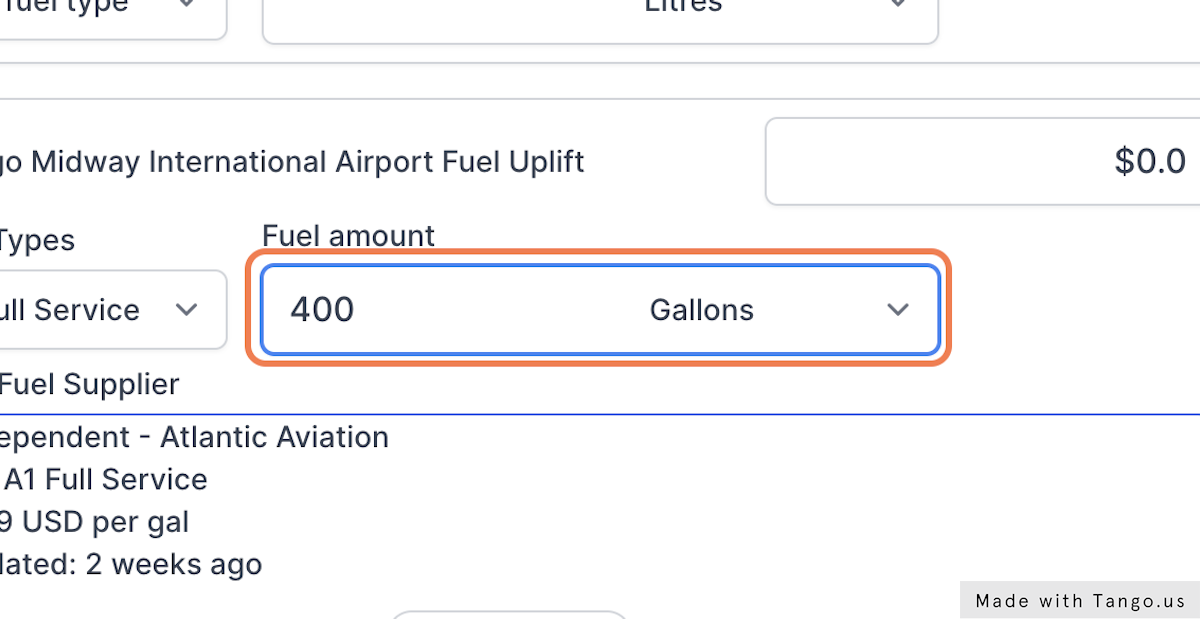
25. You may edit the flight costs by scrolling down the costs list
In this example, we are going to add a fuel uplift at Chicago
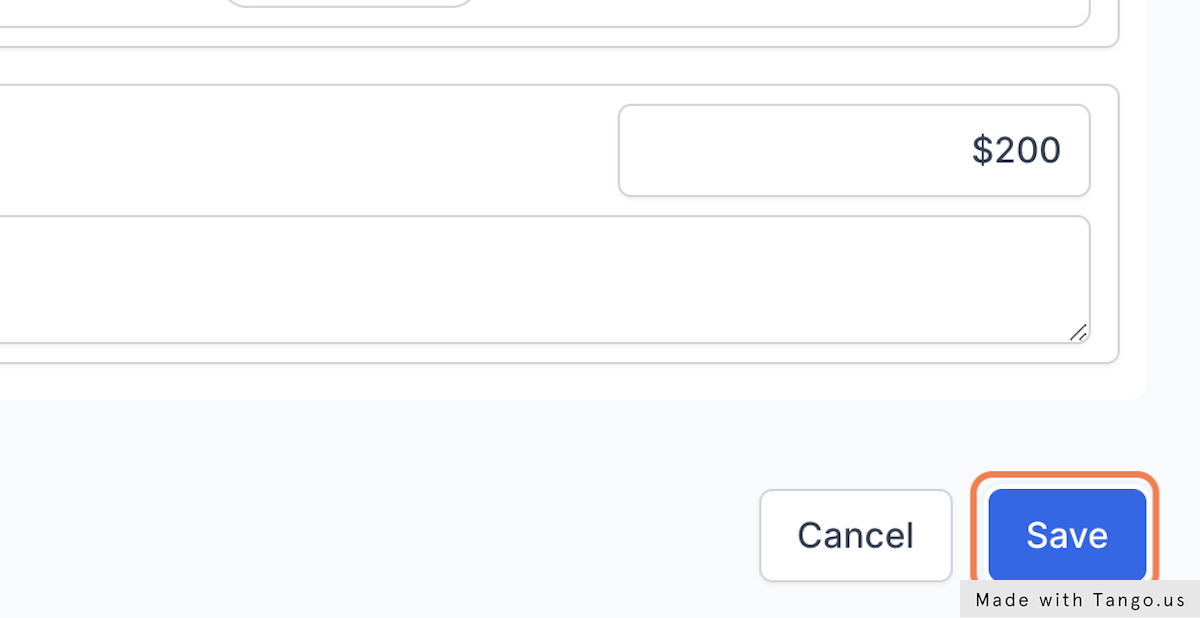
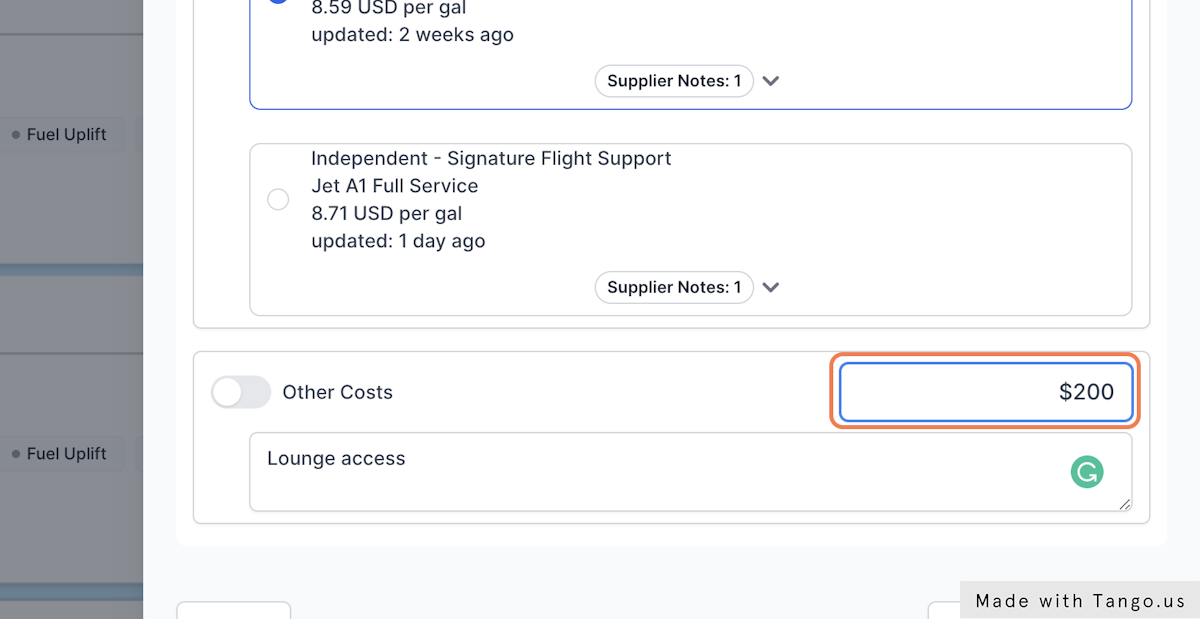
26. You can add additional costs for each flight in the "Other Cost" section
In this example, we have added Lounge Access at a cost to us of $200.
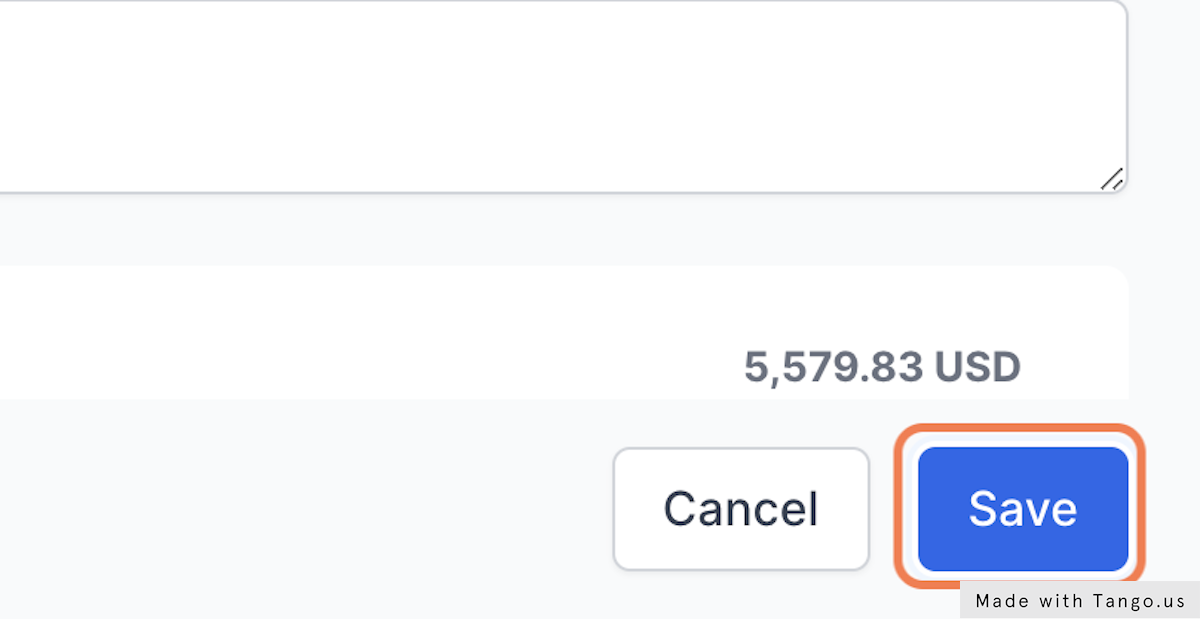
27. Click on Save
28. Go Ahead and optionally edit the second Option to your liking
Just follow the same steps as the first Option above
29. If you wish, you can now edit the Options again
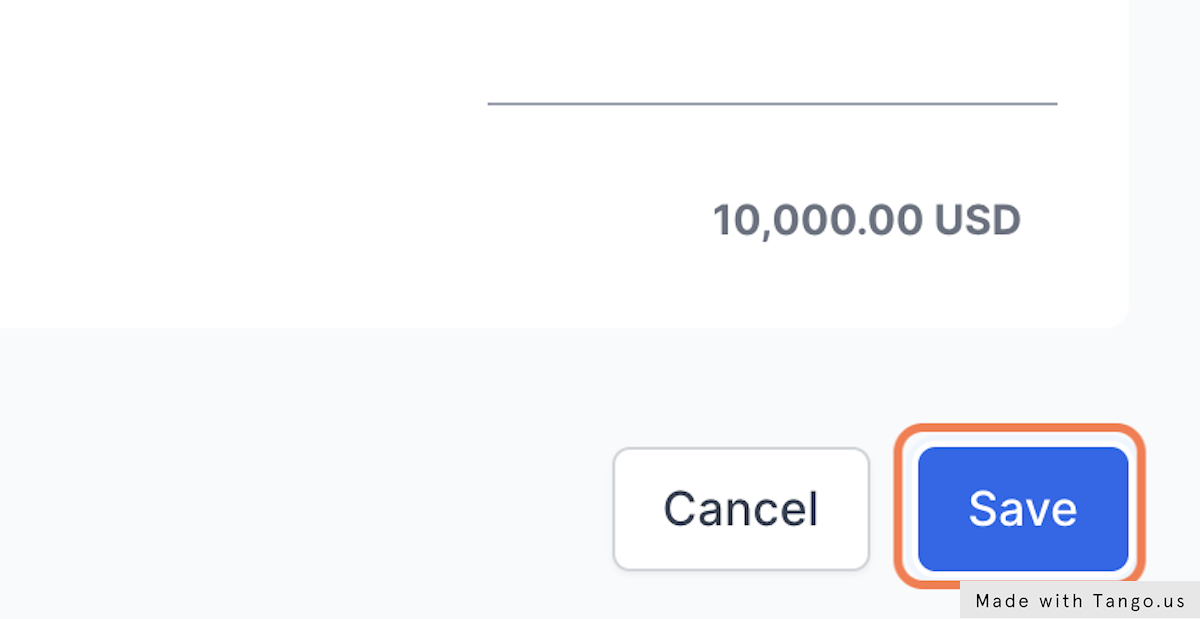
Let's adjust the price (the price to the customer) of the first Option to 10,000. You can do this by typing in the price field, or by adjusting the margin.

30. Click on Save
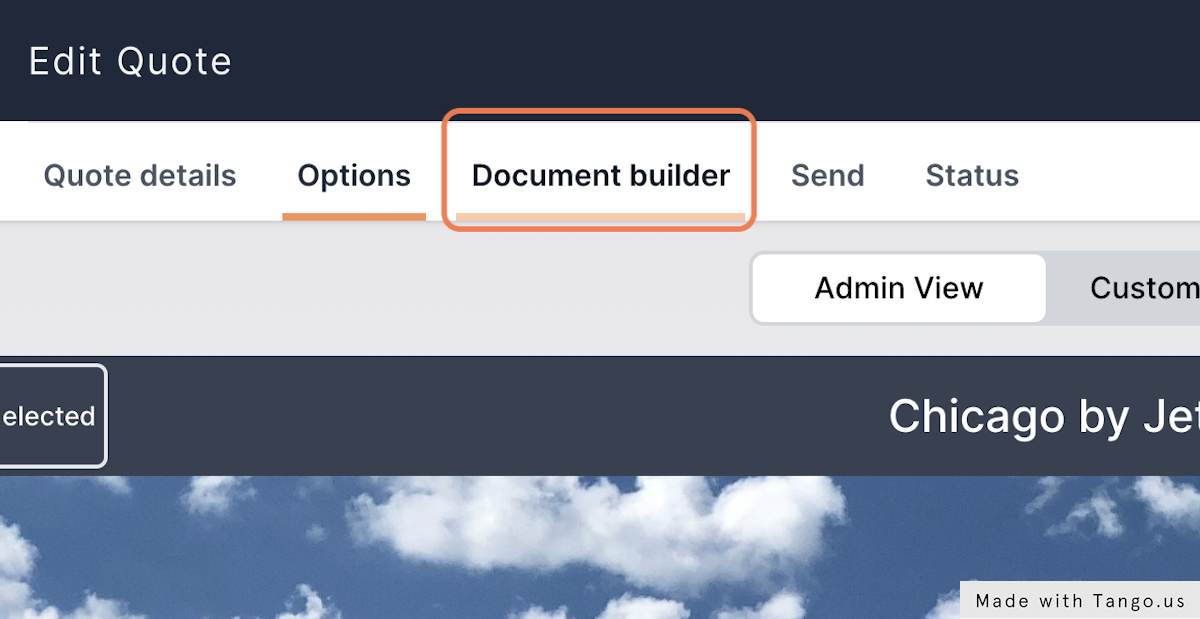
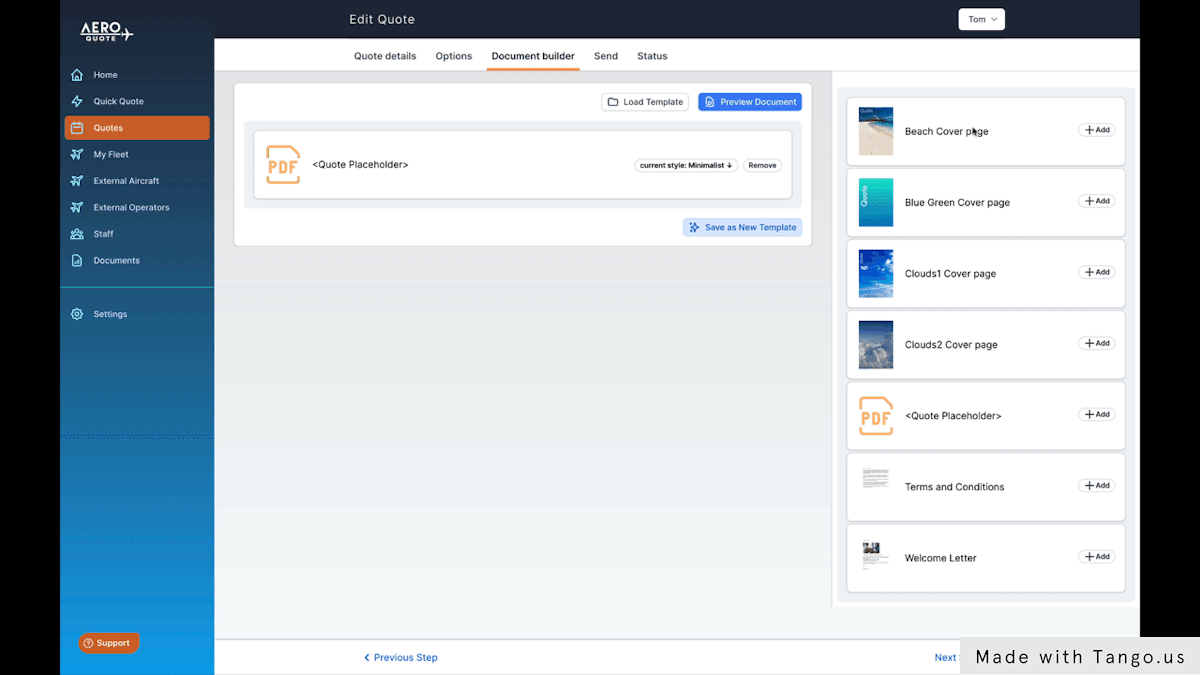
31. Click on Document builder to goto the next step
32. Click on the Add button for the "Clouds2 Cover page"
This will add the cover page to the pages that wi be included in the PDF document
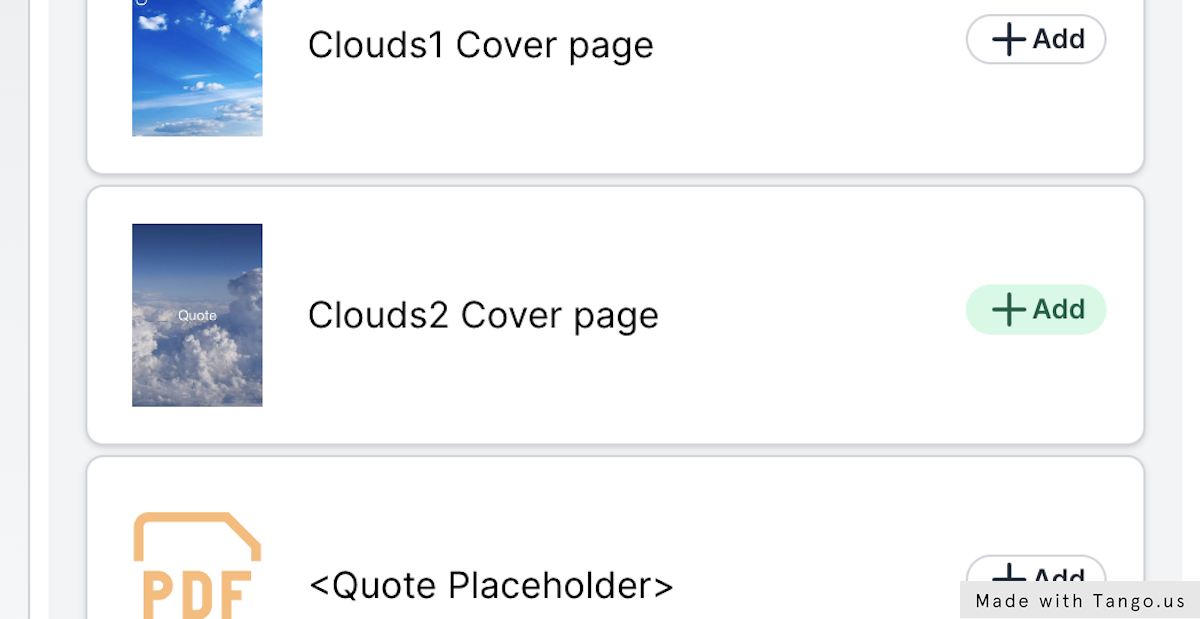
33. Click on Add
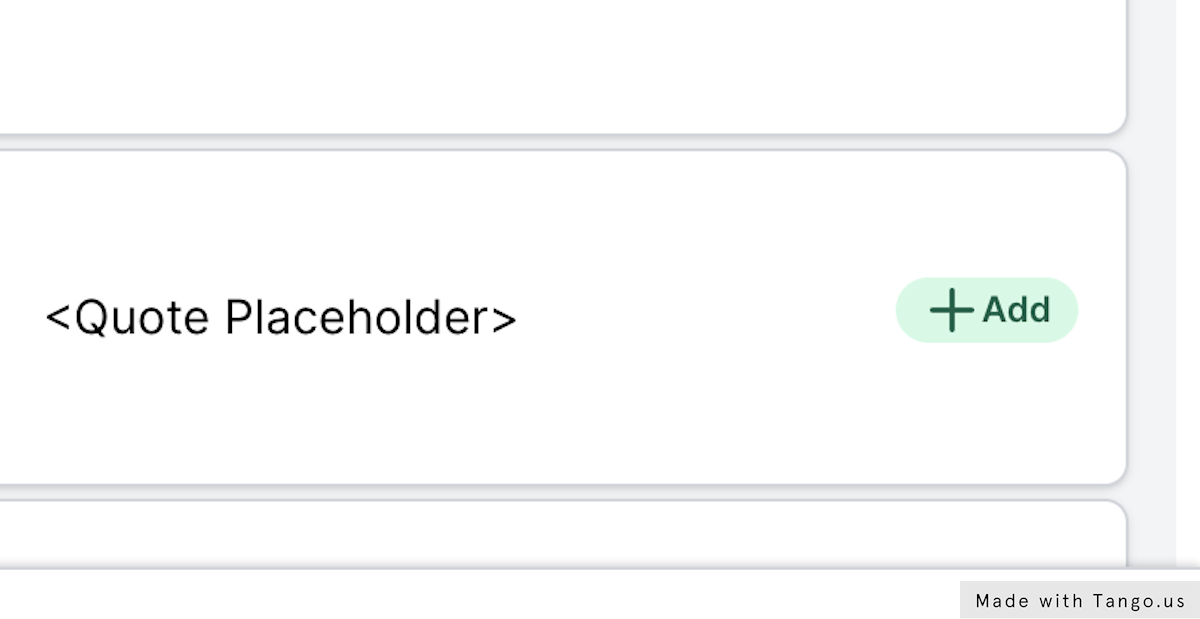
This is a very important section of the PDF, the Quote Placeholder will generate all the options and prices. It will automatically place each option on a new page.
34. Drag or click add on any remaning builder pages you wish.
You can also drag and drop any pages you have already added to rearrange the document.
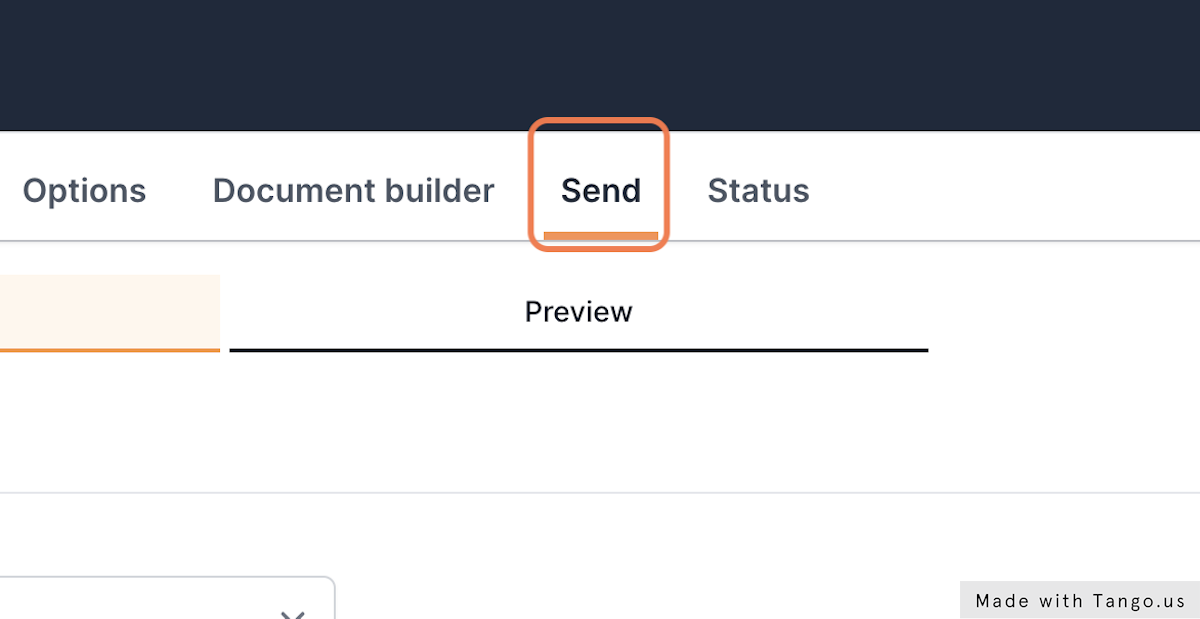
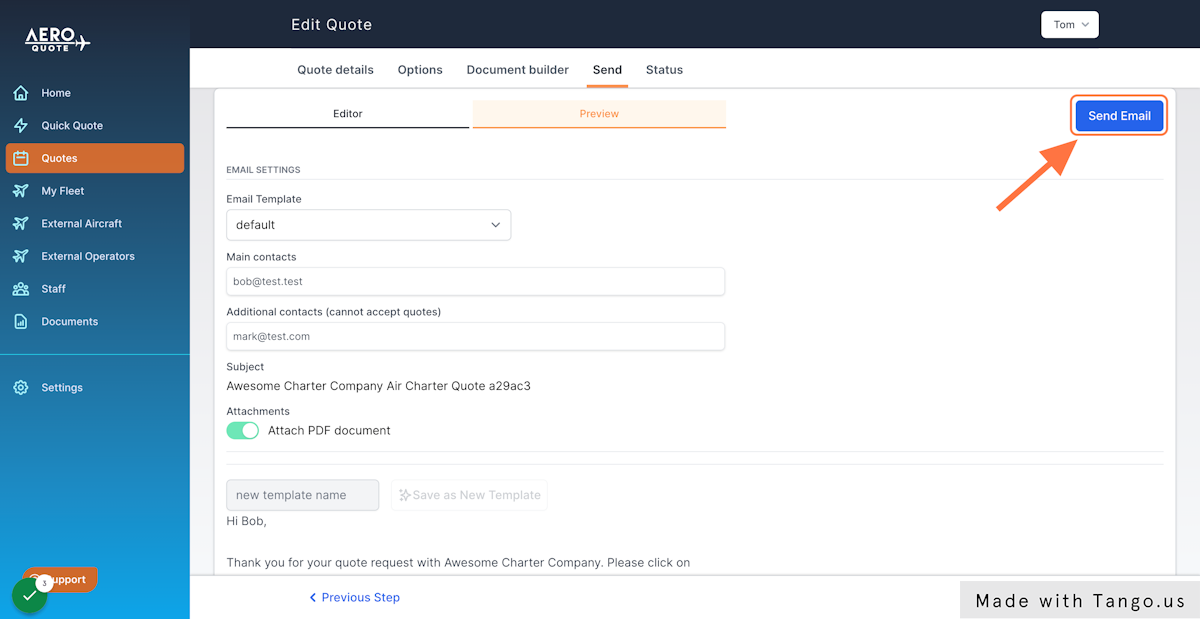
35. Click on Send to open the email sending step
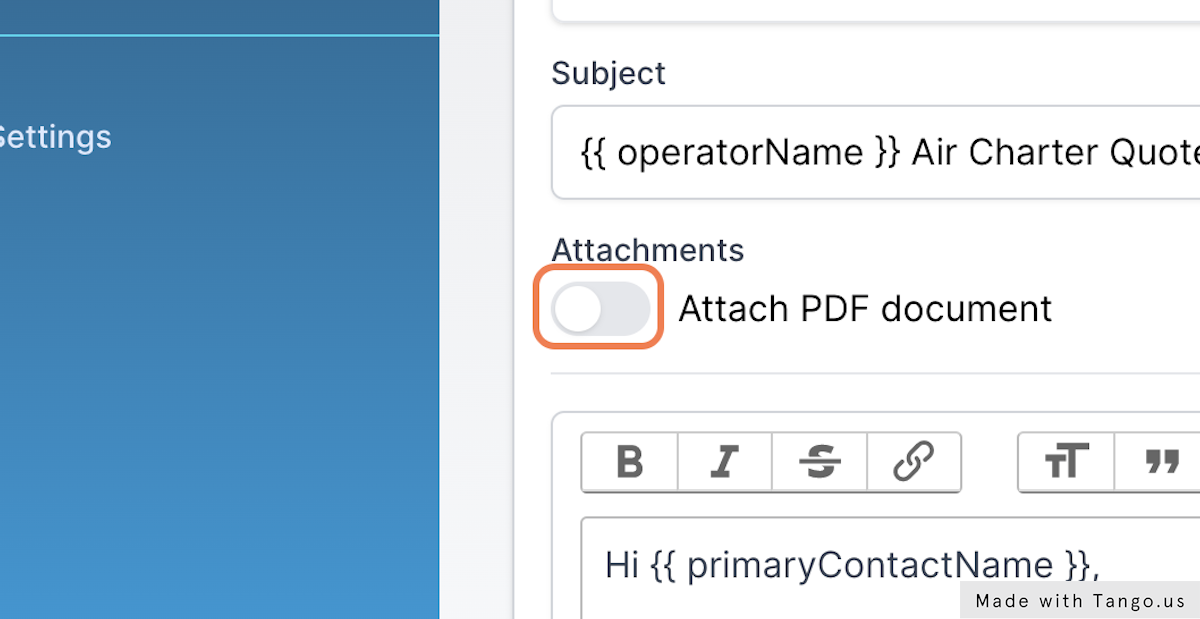
36. Lets make sure we include the PDF we build in the previous steps.
Click the switch to add the PDF Document as an email attachment.
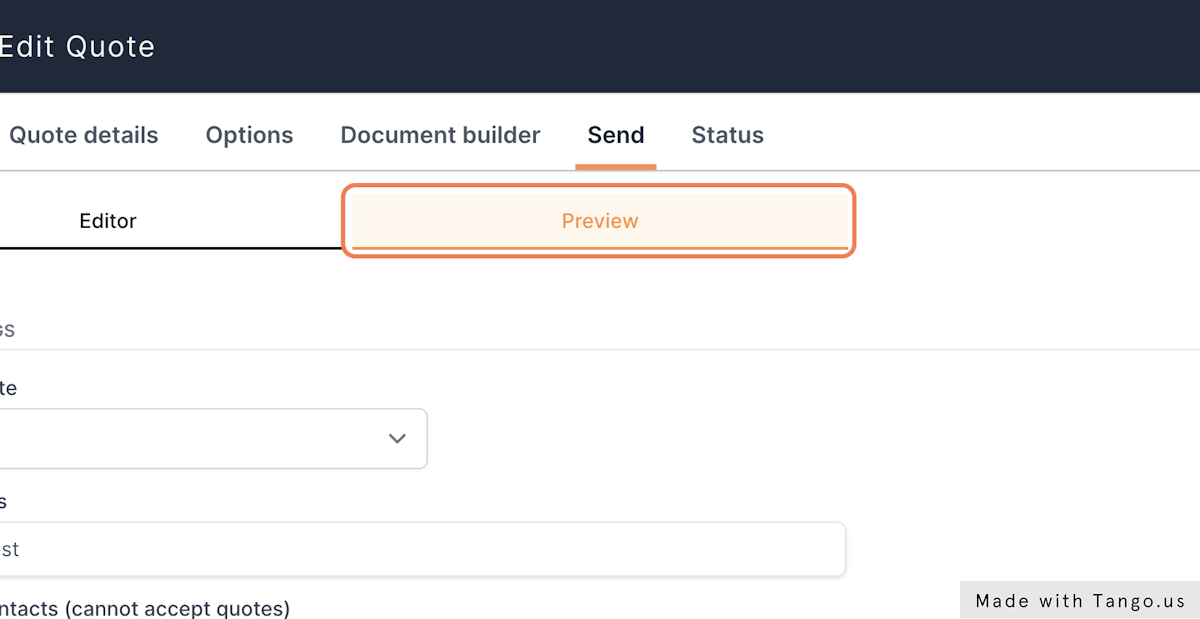
37. Click on Preview to view the email before sending
38. When you are ready, Click on Send Email
If you set yourself up as a Main or Additional contact in step 12, you will receive a quote email on the email address you used.
39. Congratulations! You have just crafted you first Quote!
You can view the quote again at any time under the "Quotes" menu item
Was this article helpful?
That’s Great!
Thank you for your feedback
Sorry! We couldn't be helpful
Thank you for your feedback
Feedback sent
We appreciate your effort and will try to fix the article